¶ To get to the crankshaft or transmission gears you usually have to split the crankcase. This can be very easy or very hard. In all cases you will need to pull the engine from the frame and remove the clutch, internal shifter linkage, crankcase bolts or screws and maybe the flywheel and electrical coils, depending on what repair has to be done.
 If the crankcase is split vertically (Up and down) You will have to remove the cylinder and cylinder head. Most two stroke single cylinder engines are split vertically, along with a number of four stroke singles too. On these engines, the crankshaft is usually an interference fit with the crankshaft bearings. The main gear shaft, shifter drum, kickstarter and everything else are NOT an interference fit with their bearings. Interference fit means the main bearing a very tight fit on the crankshaft, requiring a special tool to push the crankshaft out of the bearing. The tool is bolted to holes in the crankcase and the center bolt is positioned over the end of the crankshaft. The bolt is tightened and slowly pushes the crankshaft out of the bearing. It usually helps to tap the transmission mainshaft gently with a Dead Blow Hammer as you press the crankshaft out of the bearing. This keeps the two crankcase halves from binding as they separate. If you are careful you can use a regular hammer. Thread the clutch nut onto the mainshaft to protect the threads and tap lightly.
To install the crankshaft in the bearing you will need to decide which side of the crankcase is the primary side. At least that is what I call it. It is the crankcase side that holds all the gears. Usually it is the left half, but not always. Some engines use the right crankcase. Check your shop manual. This is the crankcase we work with first. First install the bearing in the crankcase. To do this heat the whole crankcase to around 250 degrees in an oven and put the bearing in the freezer for an hour. Wear some cotton gloves, take the crankcase and tap the old bearing out. Reheat the crankcase and drop the cold bearing in. If you work quickly it will go right in and then lock to the crankcase as it warms up. Cool the crankshaft in the freezer for an hour or two. Reheat the crankcase and quickly slide the crankshaft into the hot bearing. It will go right in and lock as it heats up.
Now place all the gears, shifter drum, shifter forks, and everything else that goes inside the crankcase, into the primary crankcase. Heat the opposite crankcase and remove the old bearing and install the new one. As the crankcase reheats put gasket sealant on the edge of the primary crankcase. I like Yamabond #4. Now take the hot crankcase and slide it down over the crankshaft, mainshaft, ETC. Gently tap the case home with a dead blow hammer and install the crankcase screws. Shift through all the gears and make sure the crank and everything else turns smoothly.
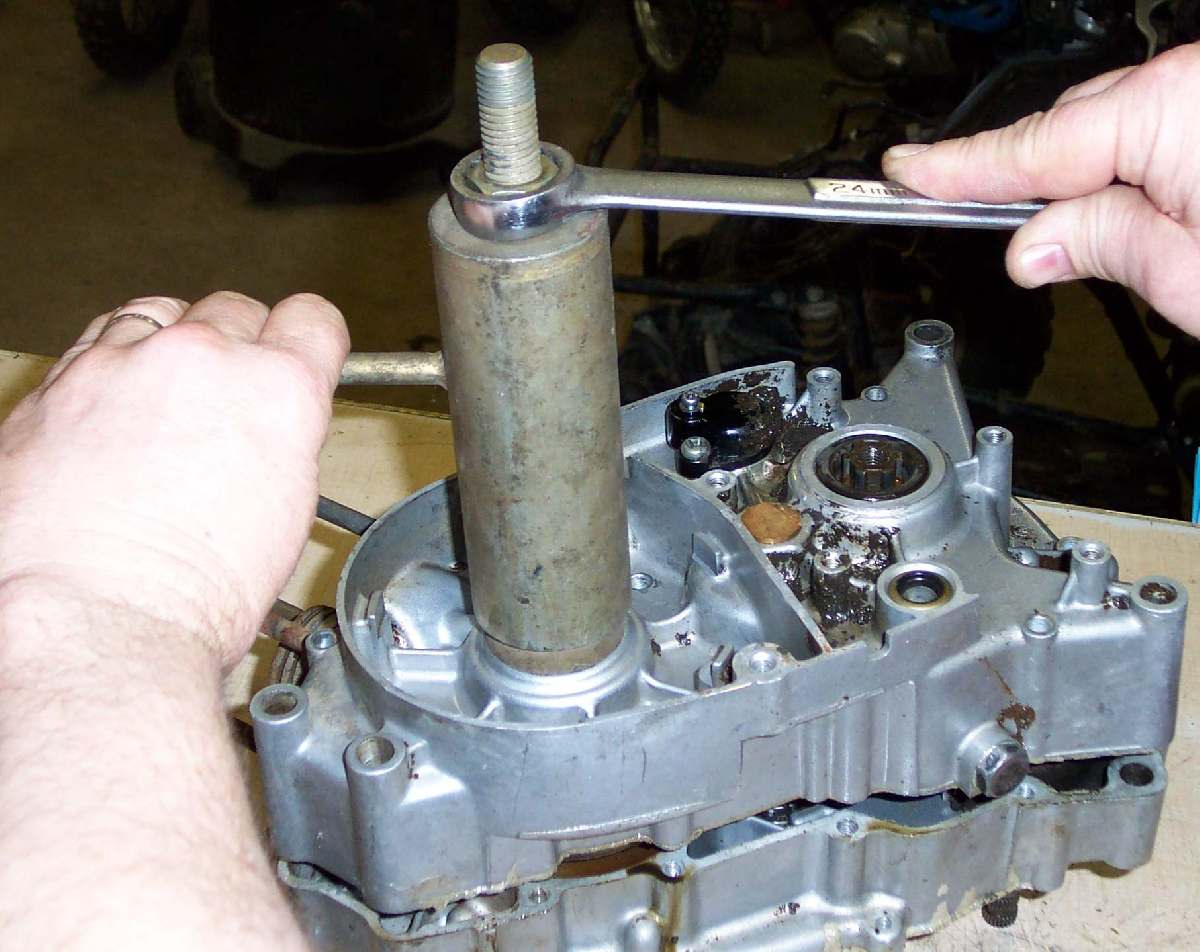 Sometimes the final assembly is done with a cold crankcase and a puller tool. this tool uses a long nut to connect to the crankshaft and a thick tube that allows you to pull the crankshaft through the main bearing by only pushing on the inner bearing race. Assembly is the same only you don't heat the crankcase. You pull the crankshaft through the bearing and this slides the two crankcases together.
After everything is together, install the crankshaft seals, clutch, shifter linkage, cylinder, cylinder head and everything else.
 If the crankcase is split Horizontally (sideways) and you are not going to rebuild the cylinder head, you will not have to disassemble the head and cylinder(s) better known as the "Top End". Most multi cylinder engine crankcases are split horizontally. Remove the bolts and nuts on both the top and bottom of the engine, clutch, shift linkage, ETC. Now look at the engine where the cases join together. There usually is a thicker area of the crankcase where you can tap with a dead blow hammer. The primary crankcase half, that holds all the gears and shafts, is usually the top crankcase. Pull on the bottom crankcase with your hands and tap on the top. Just make real sure the area you tap is strong enough to take the blow. Dead blow hammers work best but you can use a regular steel hammer. Just don't tap too hard and only tap in a strong, as in thick metal, place. Usually the case will pop loose. If it does not, you may have to reverse and tap on the bottom crankcase. Again, make sure the places you tap are strong enough to take the tap without breaking. Broken crankcases cost a lot to replace. If it just will not separate, double check and make sure you got all the crankcase bolts, nuts and screws out.
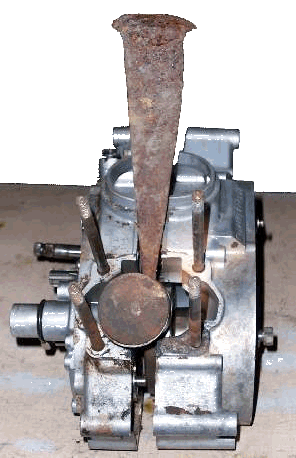
 OK, what if the crankcases are really glued and rusted together? Well, they have to come apart if you are going to repair what's inside. We need to move to a higher level of case splitting. Everyone says "Don't pry the crankcases apart." They are right and they are wrong. If you pry too hard, you will ruin the crankcases. However, if they don't come apart, they are no good to you. The techniques I going to cover now must be used VERY CAREFULLY. If you are sloppy or ham handed here, you will RUIN the crankcases.
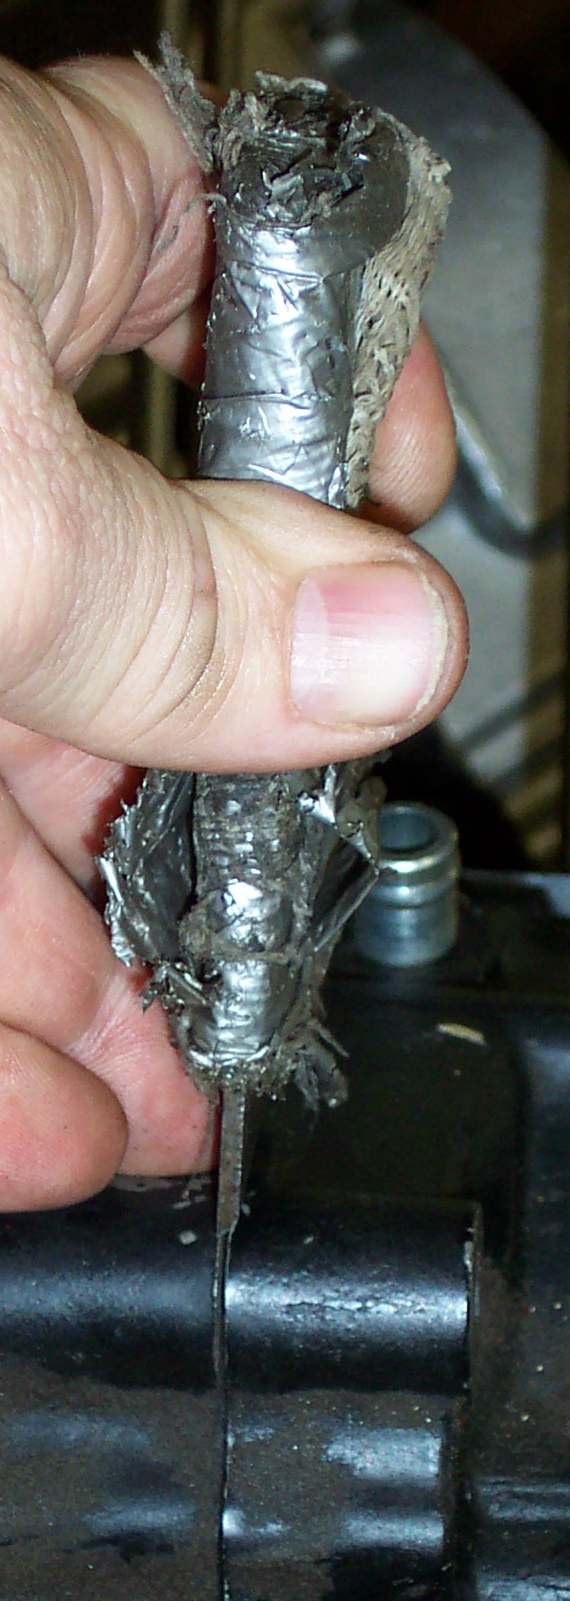
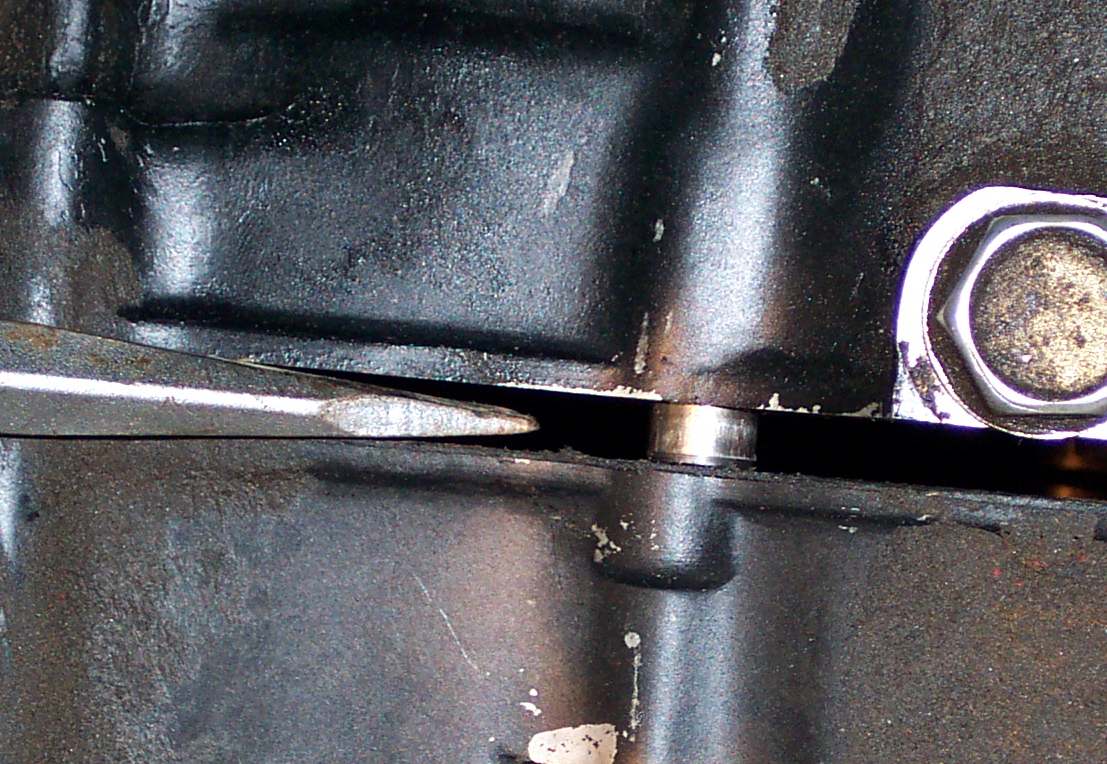
 First put some penetrating oil along the seam of the crankcase. Now I take the blade from a wood plainer and picking a strong area of the crankcase, I place the sharp end against a seam. The sharp end is beveled to a sharp edge. I place it parallel with the crankcase seam and ever so gently tap it with a hammer. I don't tap very hard. Many times the case will start to separate and come apart. Other times I have to do this at several spots around the crankcase. Because the edge is sharp and flat on one side, angled on the other and quite wide, very little or no damage is done to the crankcase. It is important NOT to damage the edge of the crankcase. If you do damage it, it will not seal right and you will have an oil leak. The crankcase is made of aluminum and it can be damaged very easily. If the case starts to spread and then pops back together when you remove the tool, you missed a crankcase bolt or screw. Go back and double check for more bolts or screws.
Lot of times the locating dowel pins will be rusted in and, using the wedge tool, you can only get the crankcases to separate the thickness of the wedge tool. If this happens, take a fairly large screwdriver and use it to gently spread the cases further. I can't emphasize enough the words gentle and go slow. The tools you are using are made of steel and the crankcases are made of aluminum. If you get carried away with this prying thing you will RUIN your crankcases. You may have to spread the cases a little, put on some penetrating oil and tap them back together and start all over again. Worry them. Back and forth, back and forth. Do not get mad at them if they are a bit difficult. I can always get my crankcases apart without damaging them. If I can do it, so can you.
If I can, I always use Yamabond #4 to seal between the crankcase halves. If you are sloppy and use too much it flows onto the sides of the crankcase and sticks there. It does not ball up, come loose and plug up oil screens. If you have to use a hi temperature, silicon type RTV sealant, that can ball up, use only a little bit, spread very thin. It's advantage is that you can get it in black to match black crankcases. Can't have any gray goo messen up our pretty crankcases under our fairings now, can we?
Rarely will the crankcases have a gasket. If it does, you must use a new one on reassembly. If the shop manual calls for a gasket and you try to use only a gasket sealant, there will not be enough clearance on the crankshaft and transmission shafts. This will cause the engine to bind up.
 |
 |
Copyright © 1999-2006 dansmc.com. All rights reserved.